Upload your reference
Choose a clear photo, drawing, or symbol with one recognizable subject.
TURN A REFERENCE INTO TATTOO ART
Upload a photo or drawing, choose a tattoo style and body part, then compare the original with a custom tattoo conversion.
Drag the handle to compare your source with the converted tattoo artwork.
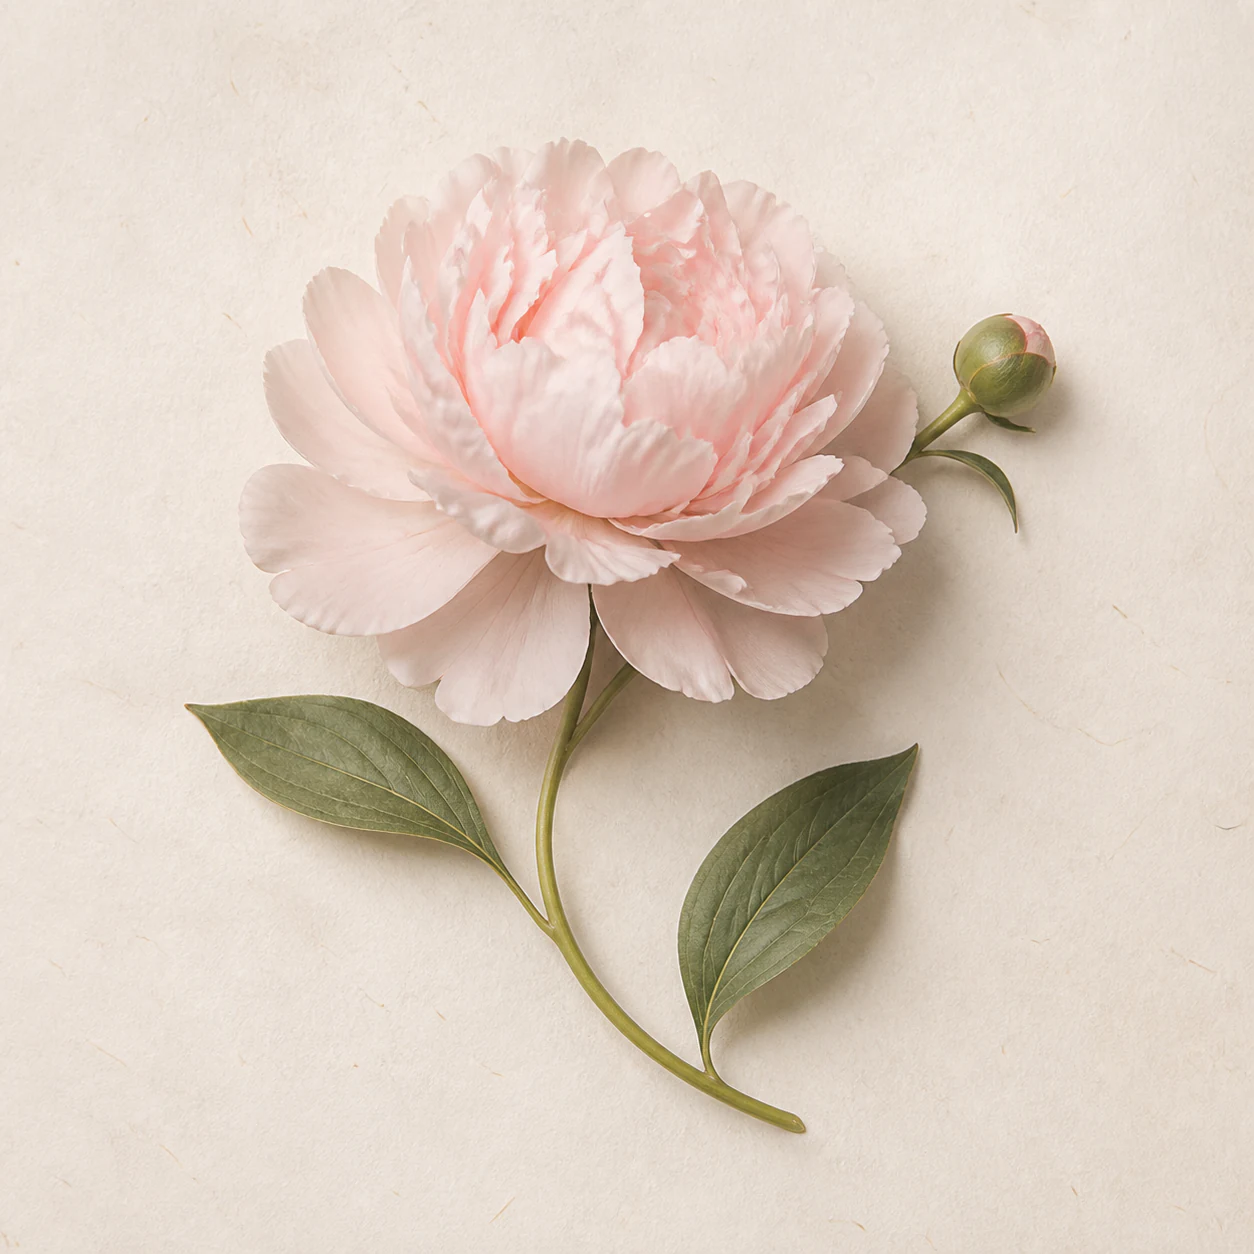
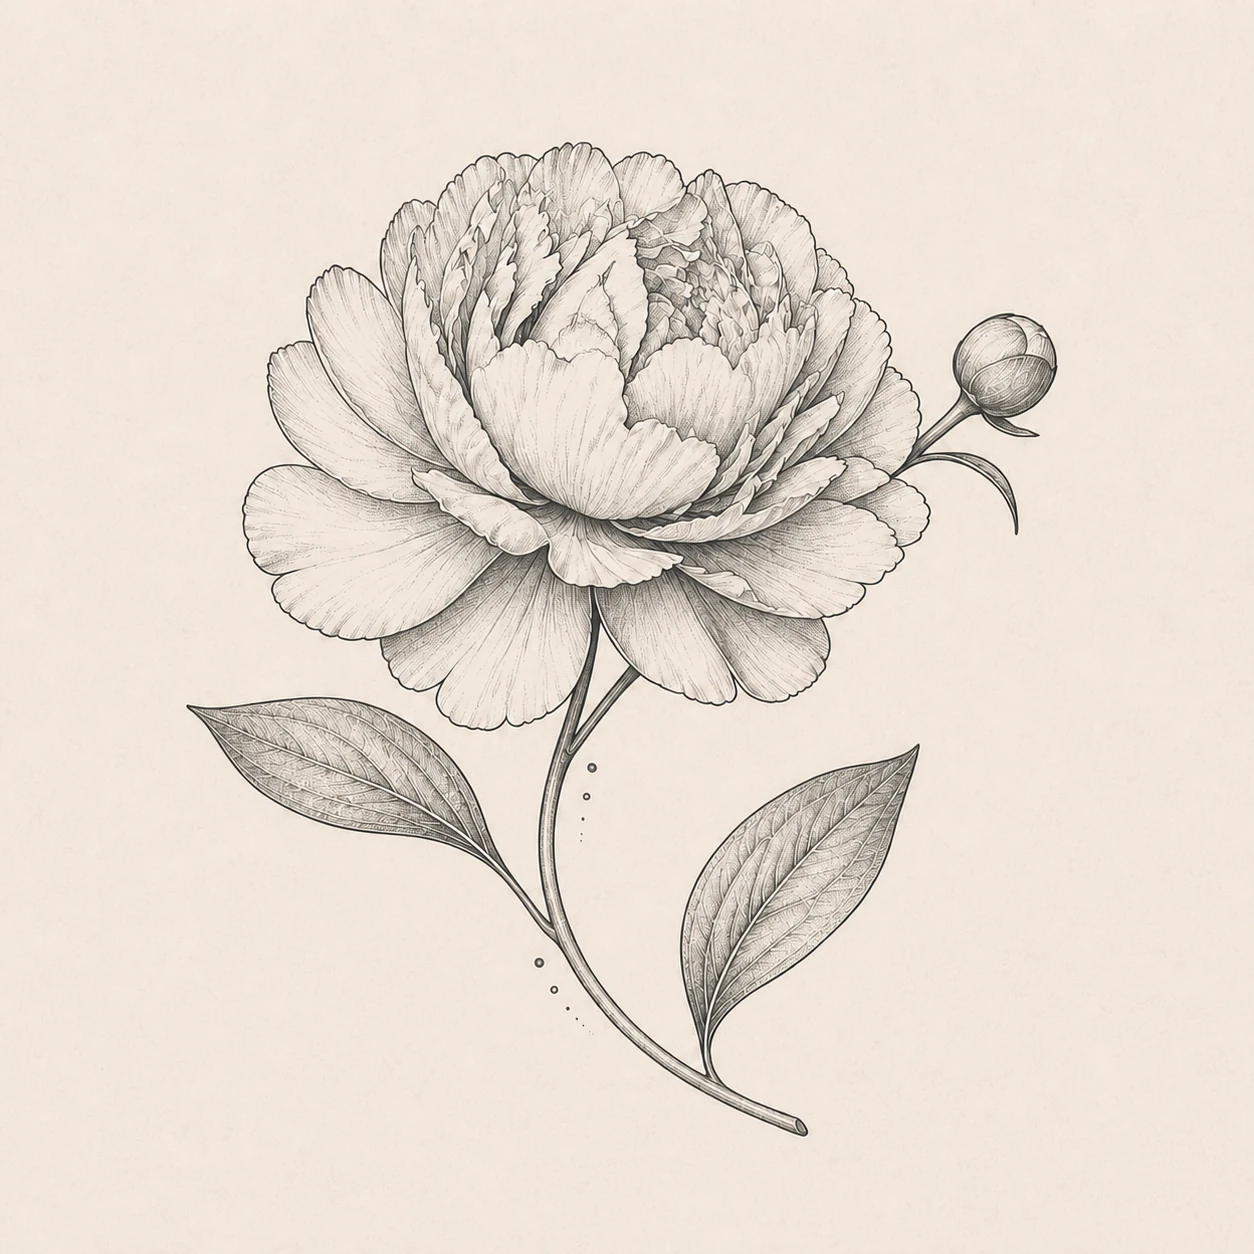
MADE FOR A REAL TATTOO DECISION
Start with one clear reference, set the tattoo direction, then compare and download the result without leaving this page.
Choose a clear photo, drawing, or symbol with one recognizable subject.
Select from 20 tattoo styles, 21 body placements, ink color, detail, and composition ratio.
Drag the comparison handle, download the private concept, and preview it with Virtual Try-On.
BEFORE, AFTER, AND STYLE DECISIONS
A useful image-to-tattoo conversion keeps the subject recognizable while translating photography into line, shape, shading, and negative space. These studies show why choosing a direction matters more than applying an ink filter.
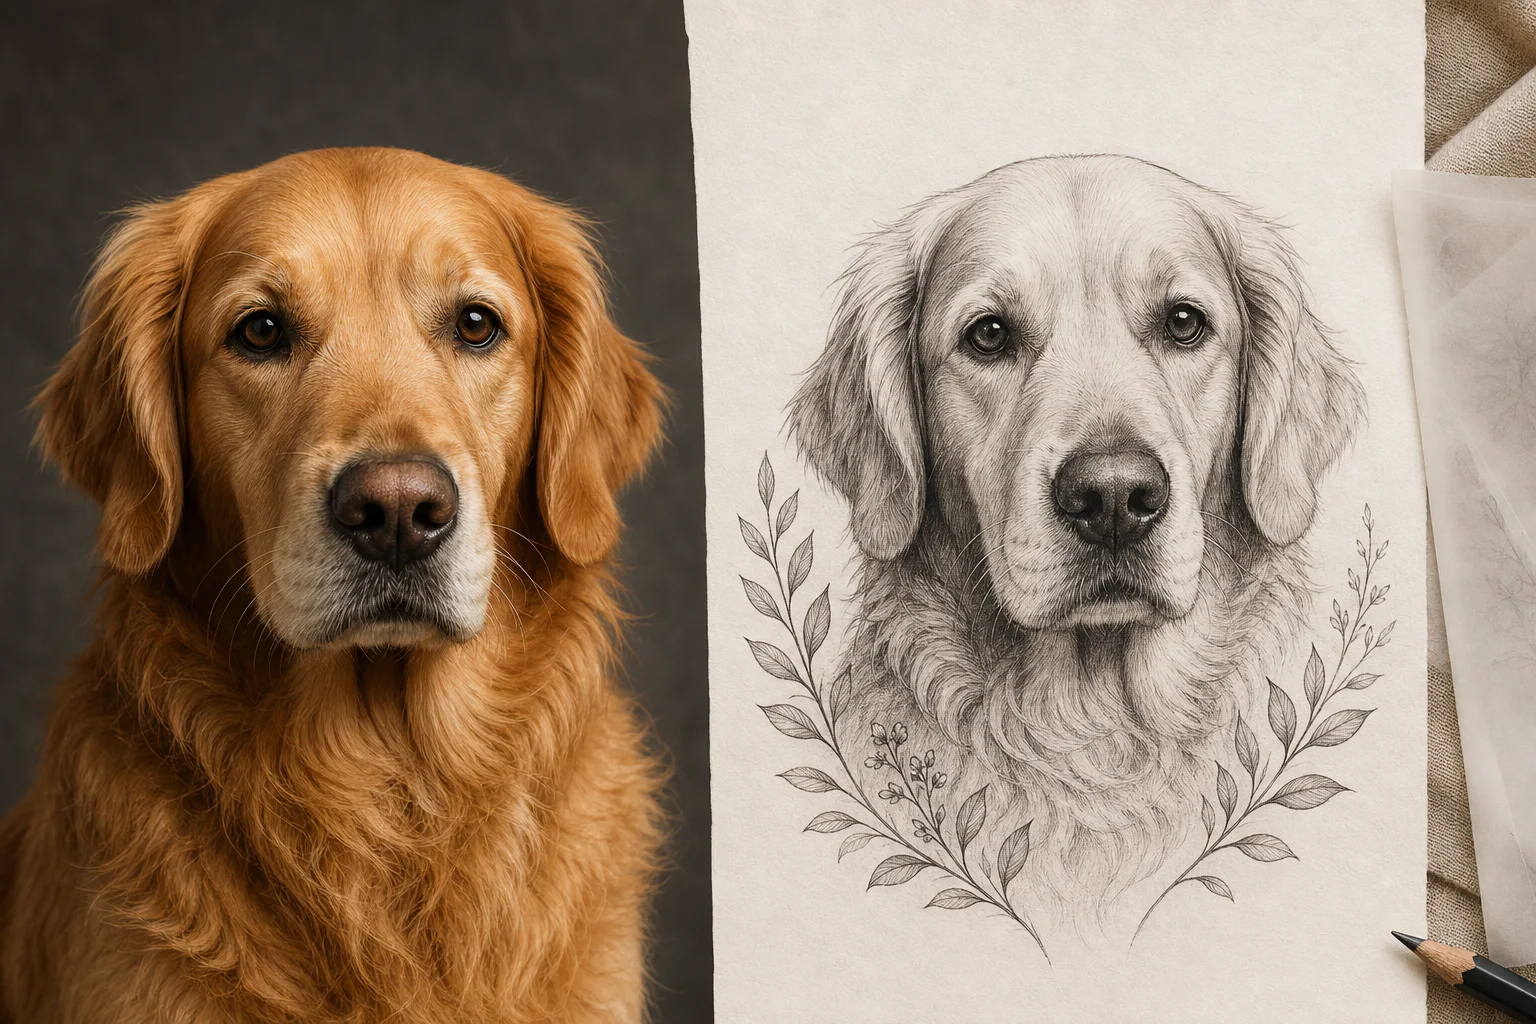
The eyes, ear shape, and head angle carry the dog's identity. Background clutter and individual hairs are simplified into a clear silhouette, selective texture, and open skin breaks that can remain readable at tattoo scale.
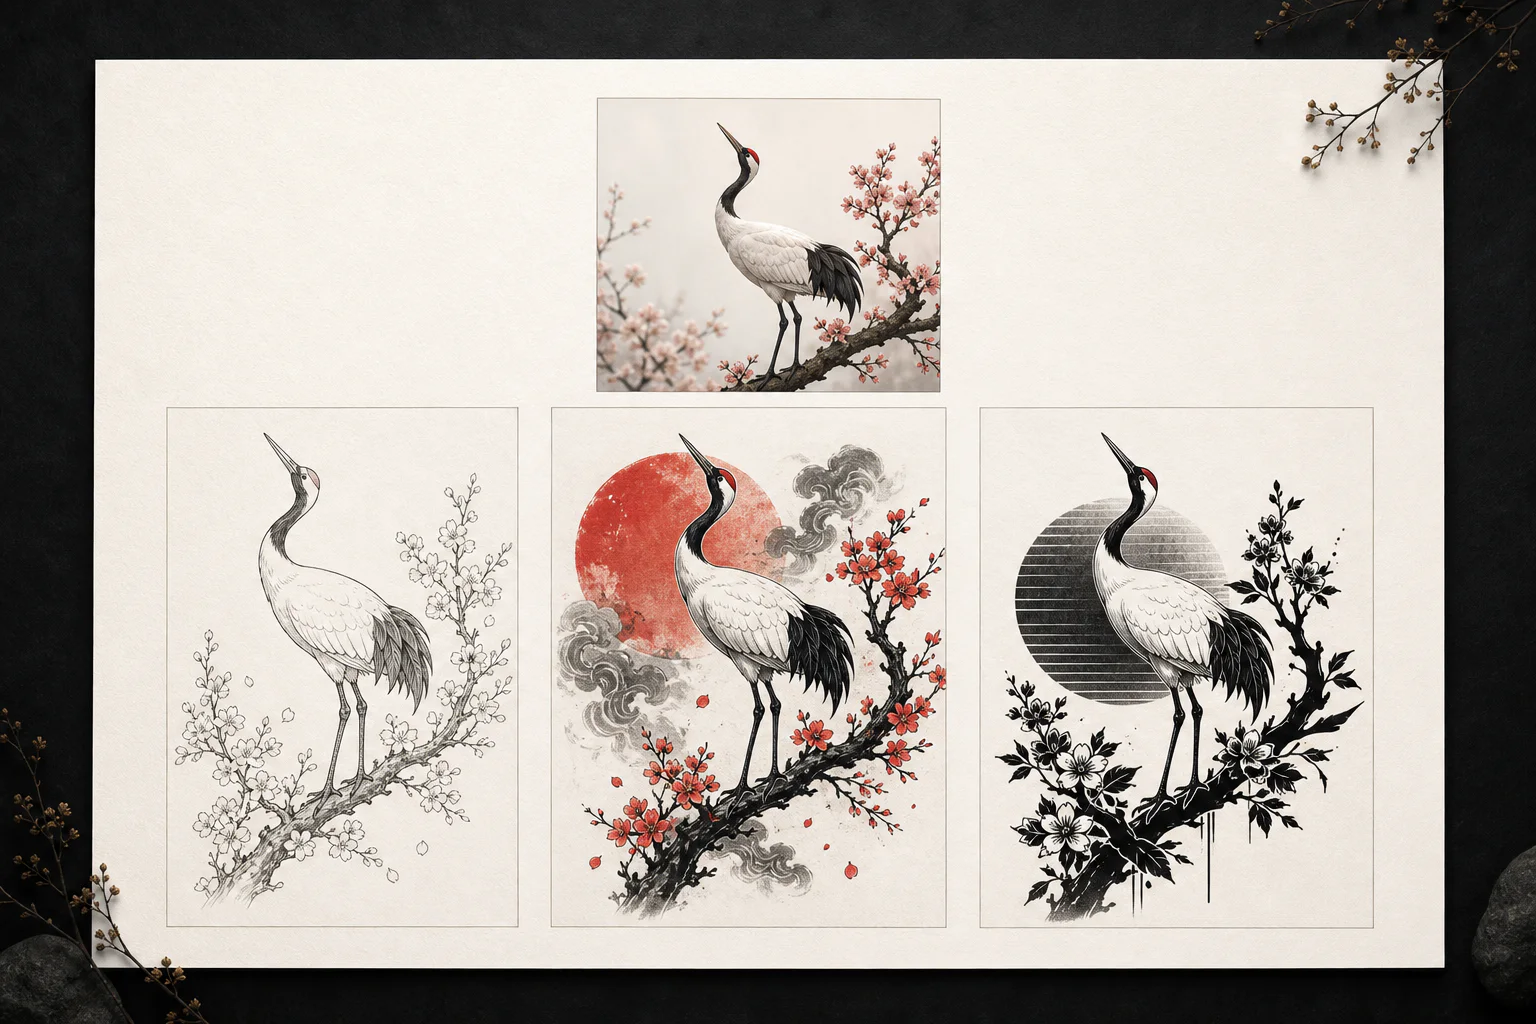
Fine line leaves more breathing room, Japanese-inspired ink adds movement and restrained red, and blackwork builds a strong silhouette. The crane stays recognizable while each style makes different decisions about detail and contrast.
Good reference conversion begins by identifying the few visual cues that make the subject unmistakably yours.
A tattoo has to communicate with fewer marks than a photograph. The converter may simplify or reorganize details to create a clearer visual hierarchy.
The converter can simplify a complex scene, but it cannot recover features that are blurred, cropped out, or buried in shadow. Start with the clearest version of the detail you care about most.
Use one clear person, pet, flower, symbol, object, or lettering sample. A simple focal point gives the conversion a stronger hierarchy.
Even light and a sharp outline preserve identity better than heavy shadows, motion blur, beauty filters, or an object hidden behind another shape.
Crop close enough to show the important details, but leave room around ears, petals, wings, or lettering so the composition can be reshaped for skin.
For sketches and handwriting, use a flat scan or straight-on photo with dark marks on a plain background. Check names, dates, and spelling manually.
Use a photo or artwork you own or have permission to adapt. Avoid uploading private images of another person without their consent.
These tools answer different questions. Image to Tattoo redesigns a visual reference; Tattoo to Stencil cleans existing artwork; the AI generator starts from words; Try-On evaluates placement.
Use Image to Tattoo when you already have a meaningful photo, drawing, logo, handwriting sample, or object you want to reinterpret as tattoo artwork.
Convert my referenceUse the AI Tattoo Generator when the idea exists in your head but you do not have a reference image. Describe the subject, style, placement, and mood in words.
Start from a written ideaWhen you do not want a redesign, use Tattoo to Stencil to faithfully extract black-and-white linework from an existing tattoo photo, sketch, or finished design.
Create a tattoo stencilUse Virtual Tattoo Try-On after you have a design. It previews approximate size, rotation, opacity, and placement on your body photo; it does not redesign the artwork.
Preview a design on my bodyA focused visual direction helps your consultation move beyond vague references. Keep your original file separately and bring it alongside the conversion so your artist can understand both the memory you want to preserve and the style you want to explore.
Save two or three coherent versions and note which silhouette, expression, line weight, and amount of detail you prefer.
Bring the original reference, your chosen concept, desired dimensions, body placement, and any details that must remain accurate.
Let the artist redraw for your anatomy, simplify fragile details, plan line spacing, and prepare the final stencil at the real size.
The converter does more than add an ink filter. It rebuilds the image around tattoo readability, durable contrast, and the proportions of your intended body placement.
Retain the recognizable silhouette, pose, expression, and defining details of the subject.
Convert photographic texture and lighting into purposeful linework, shading, and negative space.
Shape the composition for a forearm, sleeve, chest, back, finger, or another chosen body part.
Download a private concept and use it as a focused visual brief with a professional tattoo artist.
Practical answers about source images, privacy, fidelity, and using the result with an artist.
Upload a JPG, PNG, or WebP image, choose a tattoo style and placement, and generate. The AI uses the upload as a visual reference while a tattoo-specific brief controls linework, contrast, composition, and output.
Clear, well-lit images with one main subject work best. Pet portraits, flowers, symbols, sketches, handwriting, objects, and simple logos are good starting points.
The converter aims to preserve the defining identity and silhouette while simplifying details that would not translate well to tattoo scale. The result is a concept rather than an exact tracing.
Your browser prepares one normalized WebP or, when WebP encoding is unavailable, PNG. When you generate, that source is sent to our AI provider and stored privately; successful results are stored separately. A saved source is retained for troubleshooting even if generation fails or is canceled; failed-generation credit refunds are unaffected. The original image data is not stored separately, though its filename may be kept as the project label. Delete a completed project to remove its files, or contact support to delete a failed or canceled job’s source.
No. Use it as a visual brief. A professional tattoo artist should adapt line weight, dimensions, contrast, and fine detail to your anatomy, skin, and final size.
Image to Tattoo redesigns a reference photo or drawing as standalone tattoo artwork. Virtual Tattoo Try-On places an existing design over a body photo so you can judge size, angle, and position. Convert first, then try on the result.
Yes. Reuse the same reference and generate separate fine-line, blackwork, realism, traditional, or other directions. Comparing controlled variations is often more useful than trying to combine several styles in one design.
Yes, when the defining shapes are visible. For a face, use an evenly lit portrait with sharp eyes and an unobstructed outline. For handwriting, upload a straight, high-contrast scan and ask your artist to verify every letter before tattooing.