Start immediately
No sign-in or credits. Pick a template and begin placing the tattoo.
TRY THE PLACEMENT BEFORE THE COMMITMENT
Use this free virtual tattoo try-on with male and female body templates, depth-aware contouring, your own artwork, and an instant placement download.
TattooIdeas Try-On
Free instant preview2. Add a tattoo design
3. Adjust the preview
BODY PREVIEW
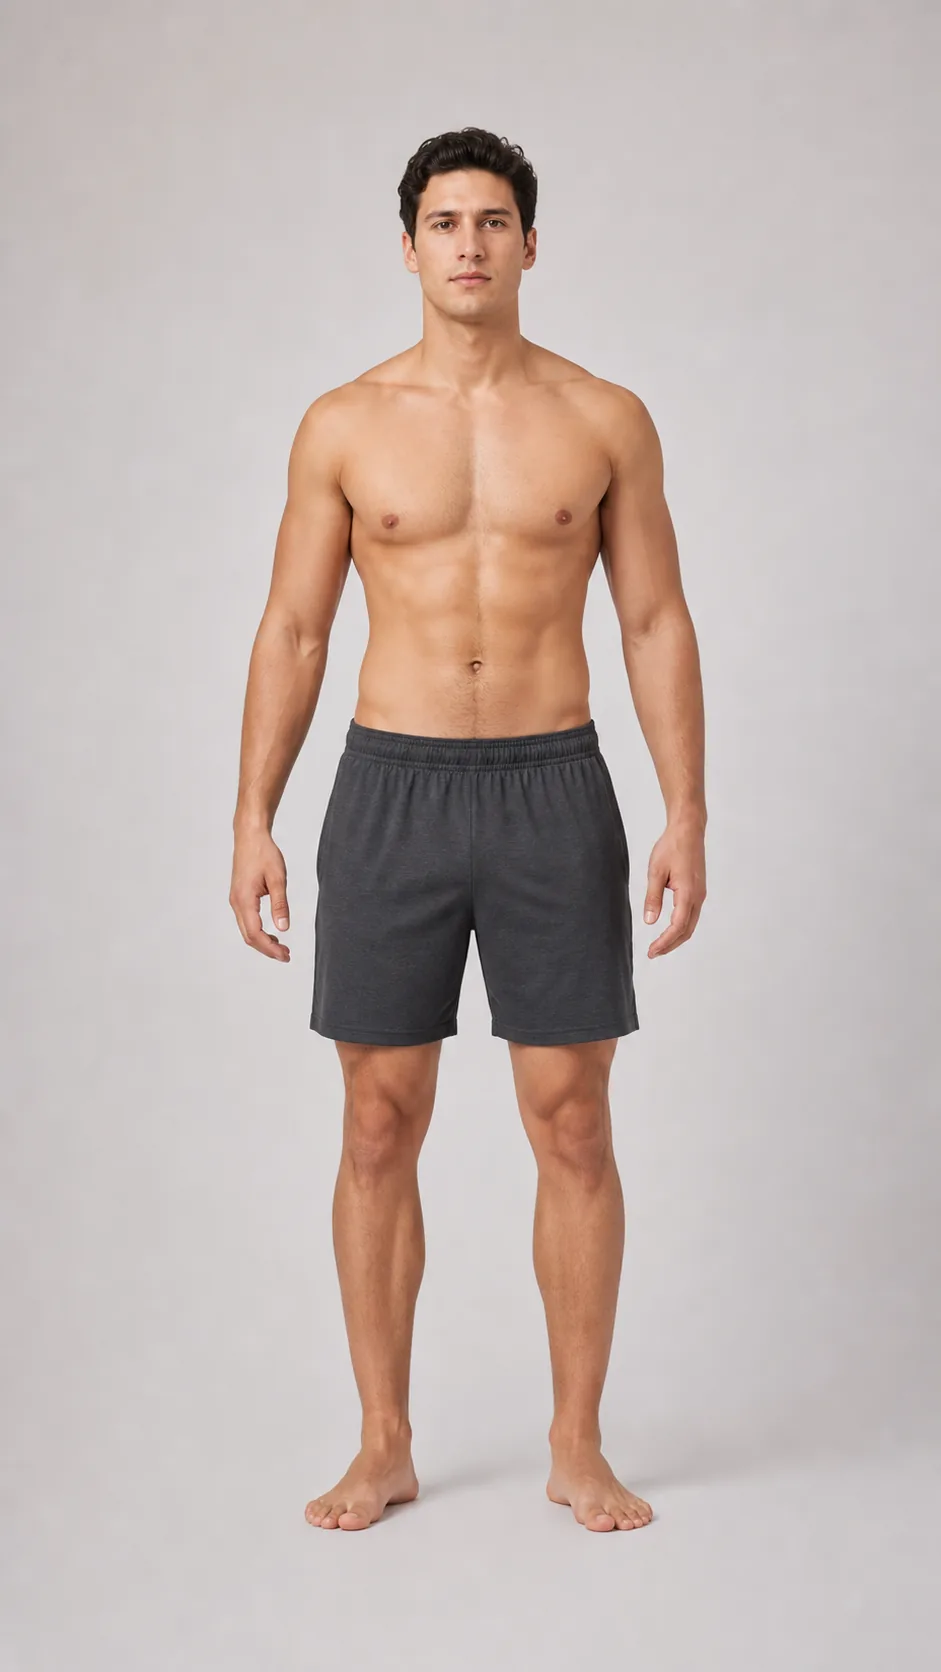
MADE FOR A REAL TATTOO DECISION
Use clear body templates to compare how a tattoo reads on the chest, shoulder, back, arms, or legs before the appointment. Depth-aware warping follows body contours while keeping the result useful as a planning reference—not a promise of the final healed tattoo.
No sign-in or credits. Pick a template and begin placing the tattoo.
Upload transparent artwork and compare position and scale locally in your browser.
Precomputed depth maps add restrained local warping across the torso and back.
Download a preferred size and direction for a professional artist to adapt.
START WITH THE RIGHT TOOL
Virtual tattoo try-on, image conversion, and design generation solve different stages of the same decision. Start with the tool that matches what you already have, then move the result into a placement preview when you are ready to compare it on the body.
Use this page when you already have a design and want to compare position, approximate size, rotation, opacity, and direction on a standardized body template.
Choose Image to Tattoo when your starting point is a photo, sketch, symbol, handwriting sample, or other reference that needs to become standalone tattoo artwork.
Convert an image to a tattooAI TATTOO GENERATORChoose the AI Tattoo Generator when you have a subject, story, mood, or placement in mind but no finished artwork. It creates visual directions from a written brief.
Generate a tattoo directionPREPARE A CLEAN PREVIEW
The editor can remove a simple light paper background locally, but a clean source still produces the most useful edge. Prepare the artwork so you are evaluating placement rather than shadows, blur, or a rough crop.
A transparent PNG or WebP gives the cleanest edge. A JPEG can also work when the artwork is dark and the background is plain and light.
If the design is on paper, photograph it straight on in soft, even light. Avoid glare, page shadows, tilted perspective, and warm indoor color casts.
Use a sharp source and leave a small margin around the outermost line. A tight crop that cuts a wing, petal, or flourish makes accurate placement harder.
Dark linework and deliberate negative space blend more clearly than faint pencil texture. Do not use heavy filters to imitate healed ink before uploading.
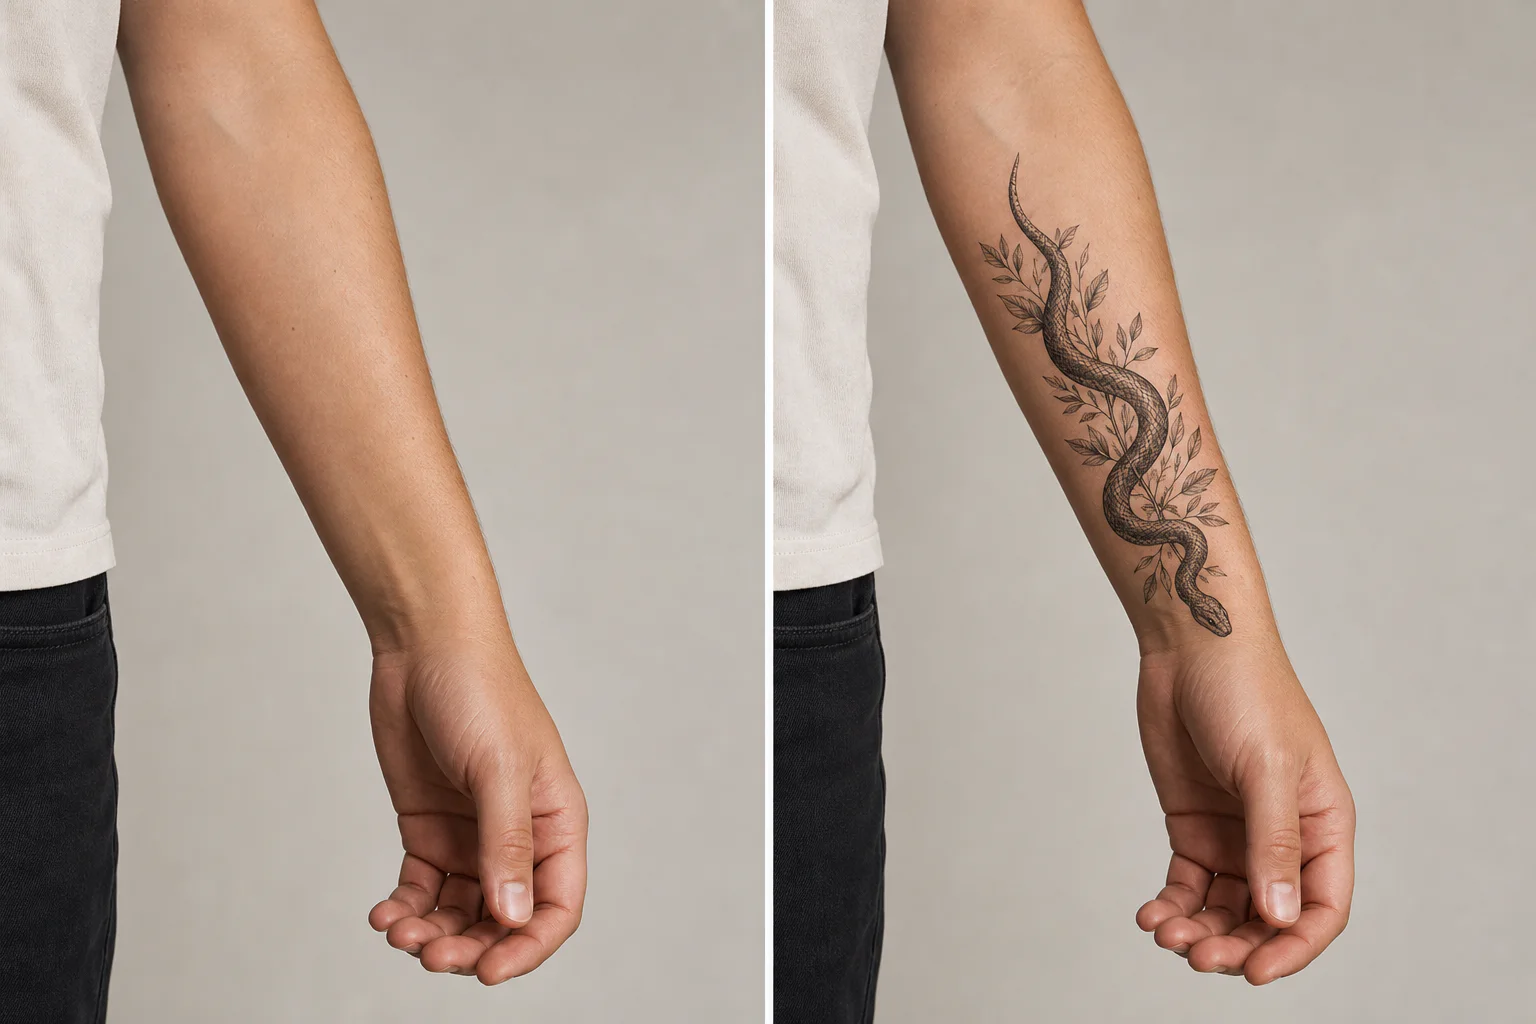
Change one variable at a time and download two or three coherent options. Side-by-side comparison is more useful than endlessly nudging a single version without a reference point.
Move the design slightly above, below, inward, and outward. Look for a position that feels anchored to the body area without colliding with joints, clothing edges, or an existing tattoo.
Compare a restrained size with one larger alternative. Judge the whole silhouette first, then ask whether essential gaps, lettering, and small features would remain readable at the intended dimensions.
Rotate the artwork so its dominant line follows the limb, shoulder, ribs, or collarbone. Check whether faces, lettering, and directional symbols still look intentional from a normal viewing angle.
PLACEMENT CHANGES THE COMPOSITION
A design that feels balanced on a flat screen can behave differently on a long limb, a broad back, a rounded shoulder, or a small high-movement area. Choose the closest template, then evaluate the composition for that body zone.
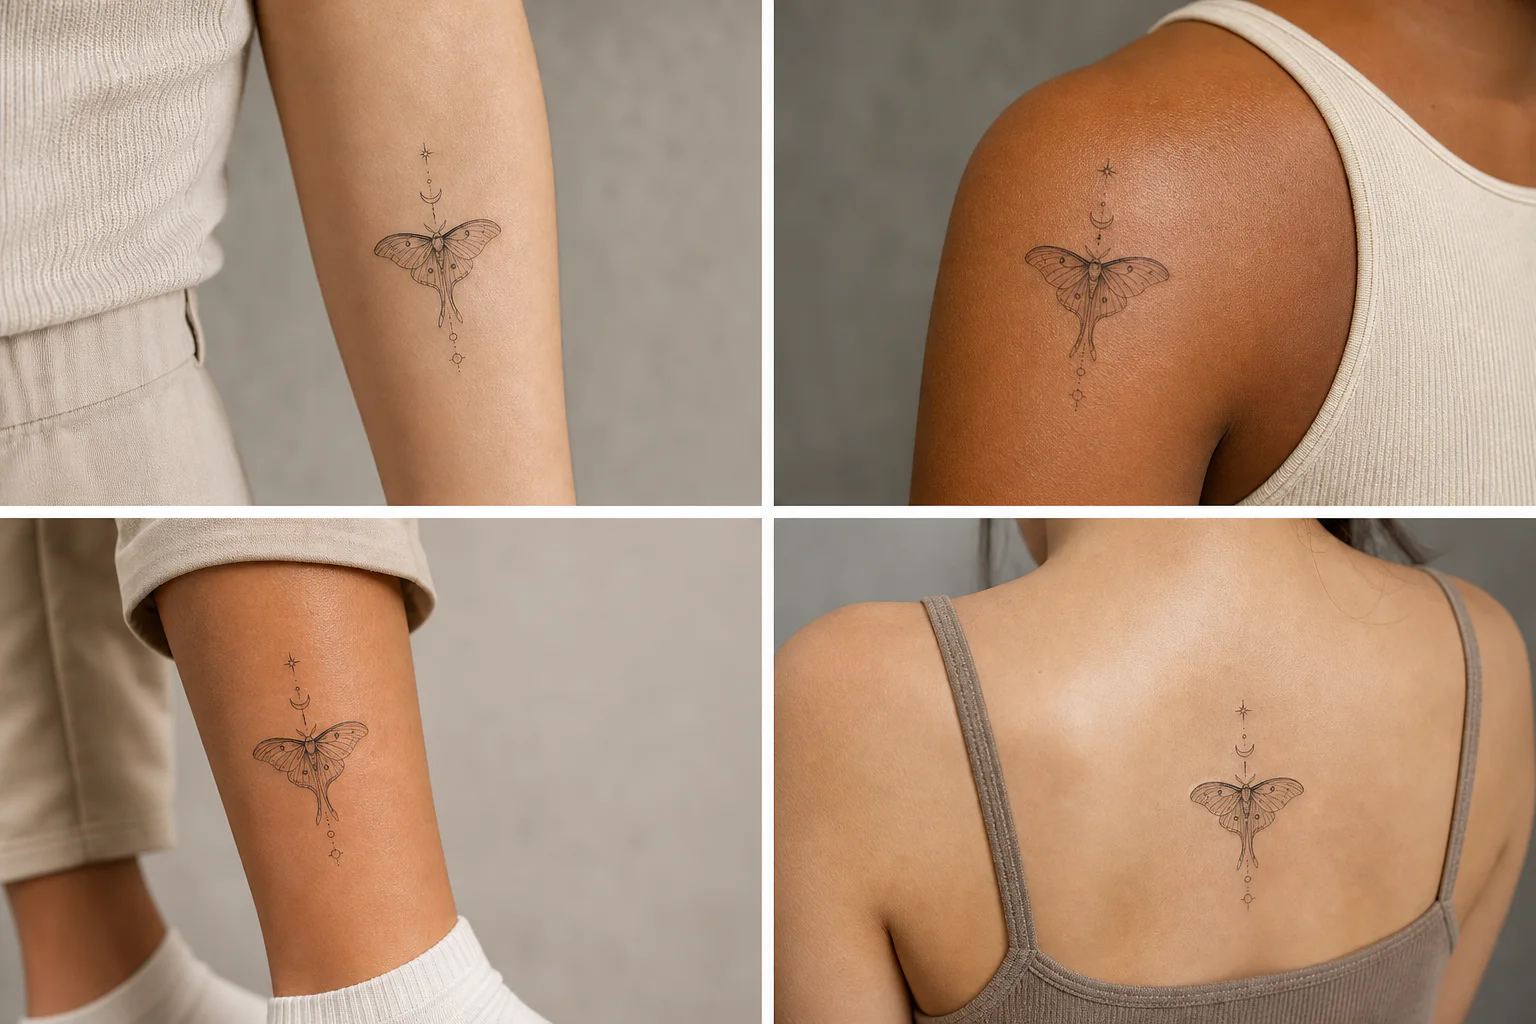
Forearms and calves reward a clear vertical flow. Test whether the design still reads when it becomes narrower, and keep important faces or lettering away from the most curved edge.
Shoulders, upper arms, and the chest turn across rounded forms. Rotate the main line with the anatomy and check the preview from a natural standing angle, not only straight on.
Back, thigh, and ribs can hold wider or more detailed compositions, but breathing and torso movement change the silhouette. Compare a restrained version before filling the available space.
Hands, fingers, neck, and behind-ear placements have limited room, frequent movement, and demanding aging conditions. Use the preview to simplify the idea, then ask an artist about durability.
FROM PREVIEW TO CONSULTATION
A virtual preview is most valuable when it helps you ask better questions. Use it to narrow options, then rely on a professional tattoo artist for anatomy, line longevity, skin safety, final stencil preparation, and application.
A virtual tattoo try-on on standardized templates shows relative proportion and visual flow, not how ink will sit on your exact skin. Muscle shape, skin tone, scars, existing tattoos, movement, application technique, and healing can all change the final result.
A tattoo file selected in this editor is processed in your browser. Background cleanup, placement changes, and the downloaded composite are not uploaded by this try-on editor, and resetting or closing the page clears the local selection. A design opened from another tool remains subject to that tool's storage policy.
Download a small set of clearly different placement options and bring the original artwork. A tattoo artist can then redraw for your anatomy, set the real dimensions, plan line spacing, and explain what will age well.
FREE TATTOO TRY-ON FAQ
Yes. You can use the included body templates, upload a tattoo image, adjust it, and download a placement preview without credits.
Choose a body template, add a transparent tattoo design, then drag, resize, rotate, and blend it. A precomputed depth map adds restrained contour-aware warping on supported devices.
Yes. Transparent PNG or WebP artwork works immediately, and a light paper background is removed locally in your browser before preview. Dark linework usually blends most naturally.
No. It is a planning reference for placement, scale, and direction. Skin, lighting, artist technique, ink, and healing all affect the final tattoo.
Fourteen matching high-resolution templates cover the front torso, back, ribs and hip, complete arm, hand and fingers, leg, neck, and behind-ear areas for both male and female bodies.
No. Custom tattoo artwork selected in this editor stays in your browser and is removed when the page is closed or reset.
Try-on places existing artwork on a standardized body template so you can compare size, angle, and position. The AI Tattoo Generator creates new artwork from words, while Image to Tattoo redesigns a photo or drawing. Create or convert first, then return here to evaluate placement.
Use a high-resolution transparent PNG or WebP when possible. If you photograph a drawing on paper, shoot it straight on in soft, even light with no glare or page shadow. The editor can remove a simple light background locally.
Compare at least two sizes and a few nearby positions, then download the strongest options. The template shows relative proportion only; a tattoo artist should measure the real body area and set the final dimensions, angle, and stencil.
This tool is for planning and communication. It does not provide medical advice or replace an artist’s professional judgment about skin, scale, line longevity, and safety.